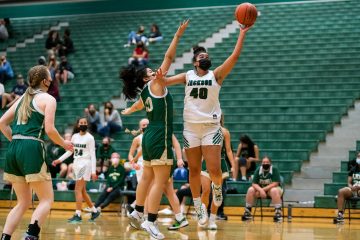
Marysville Getchell High at Jackson: Girls Varsity Basketball Matthew Gore·June 10, 2021Basketball·2 Comments·
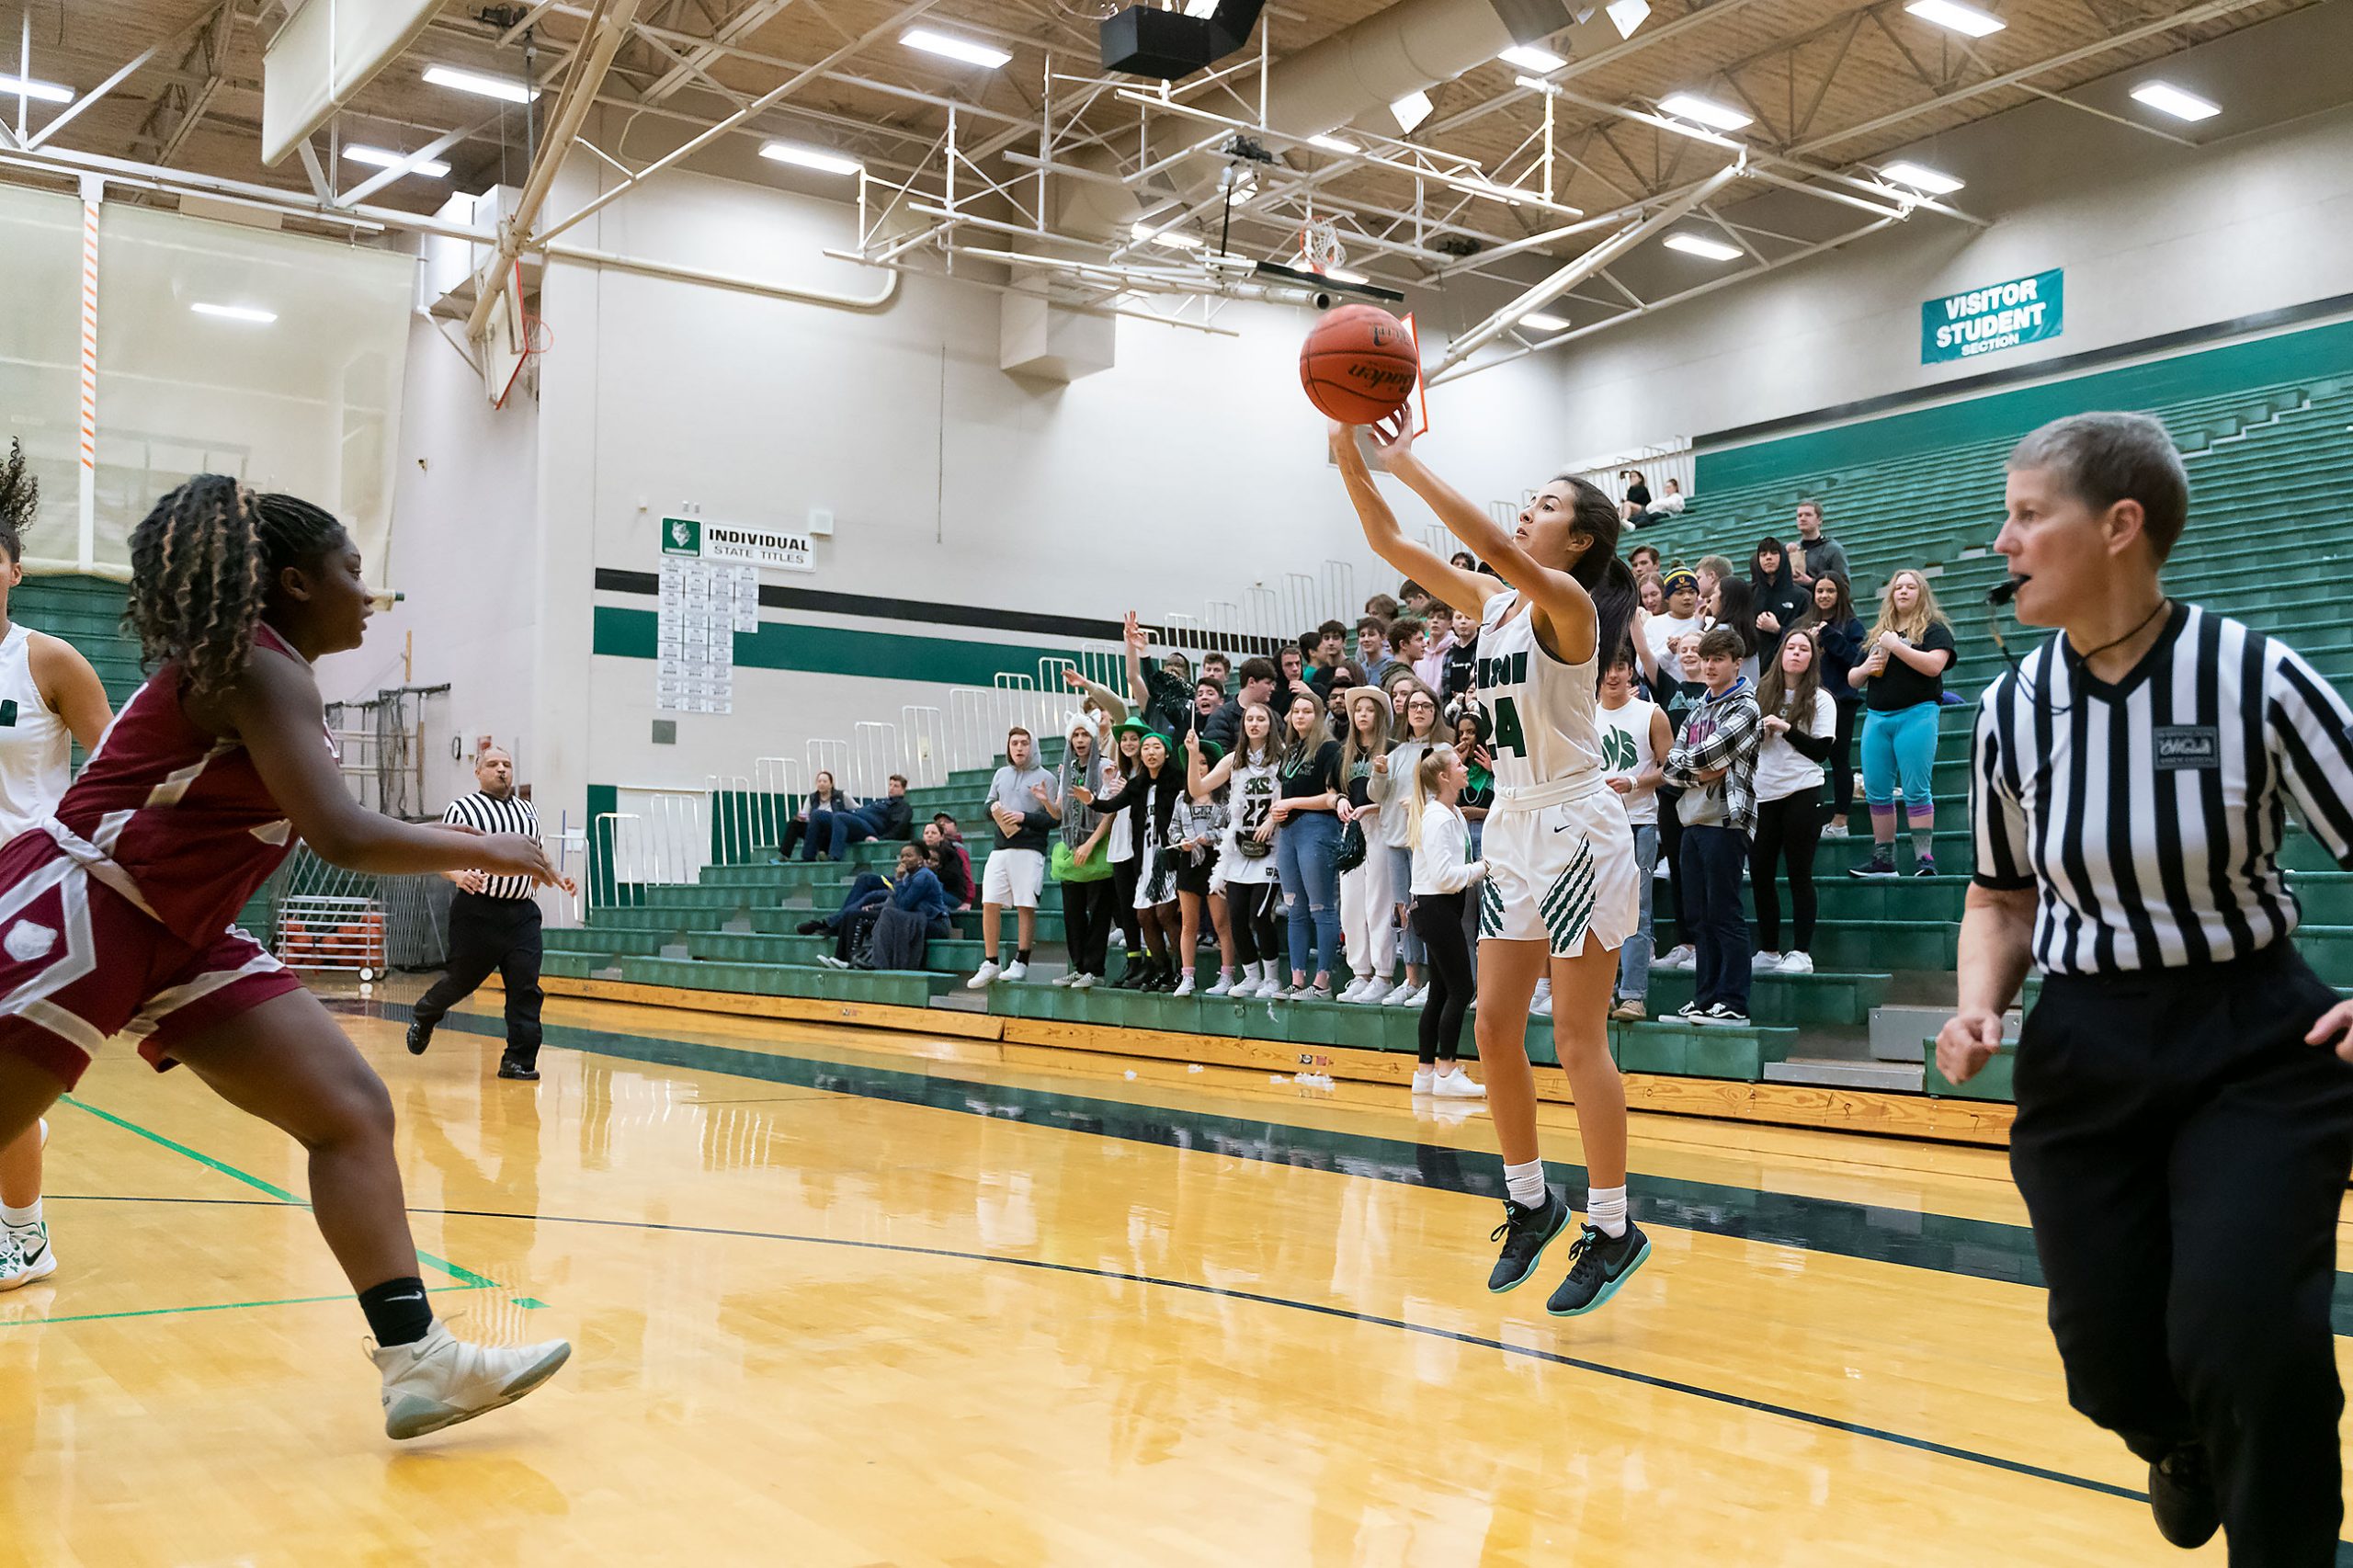
Cascade at Jackson Girls Varsity Basketball: Senior Day! Matthew Gore·February 10, 2020BasketballEVENTS·0 Comments·
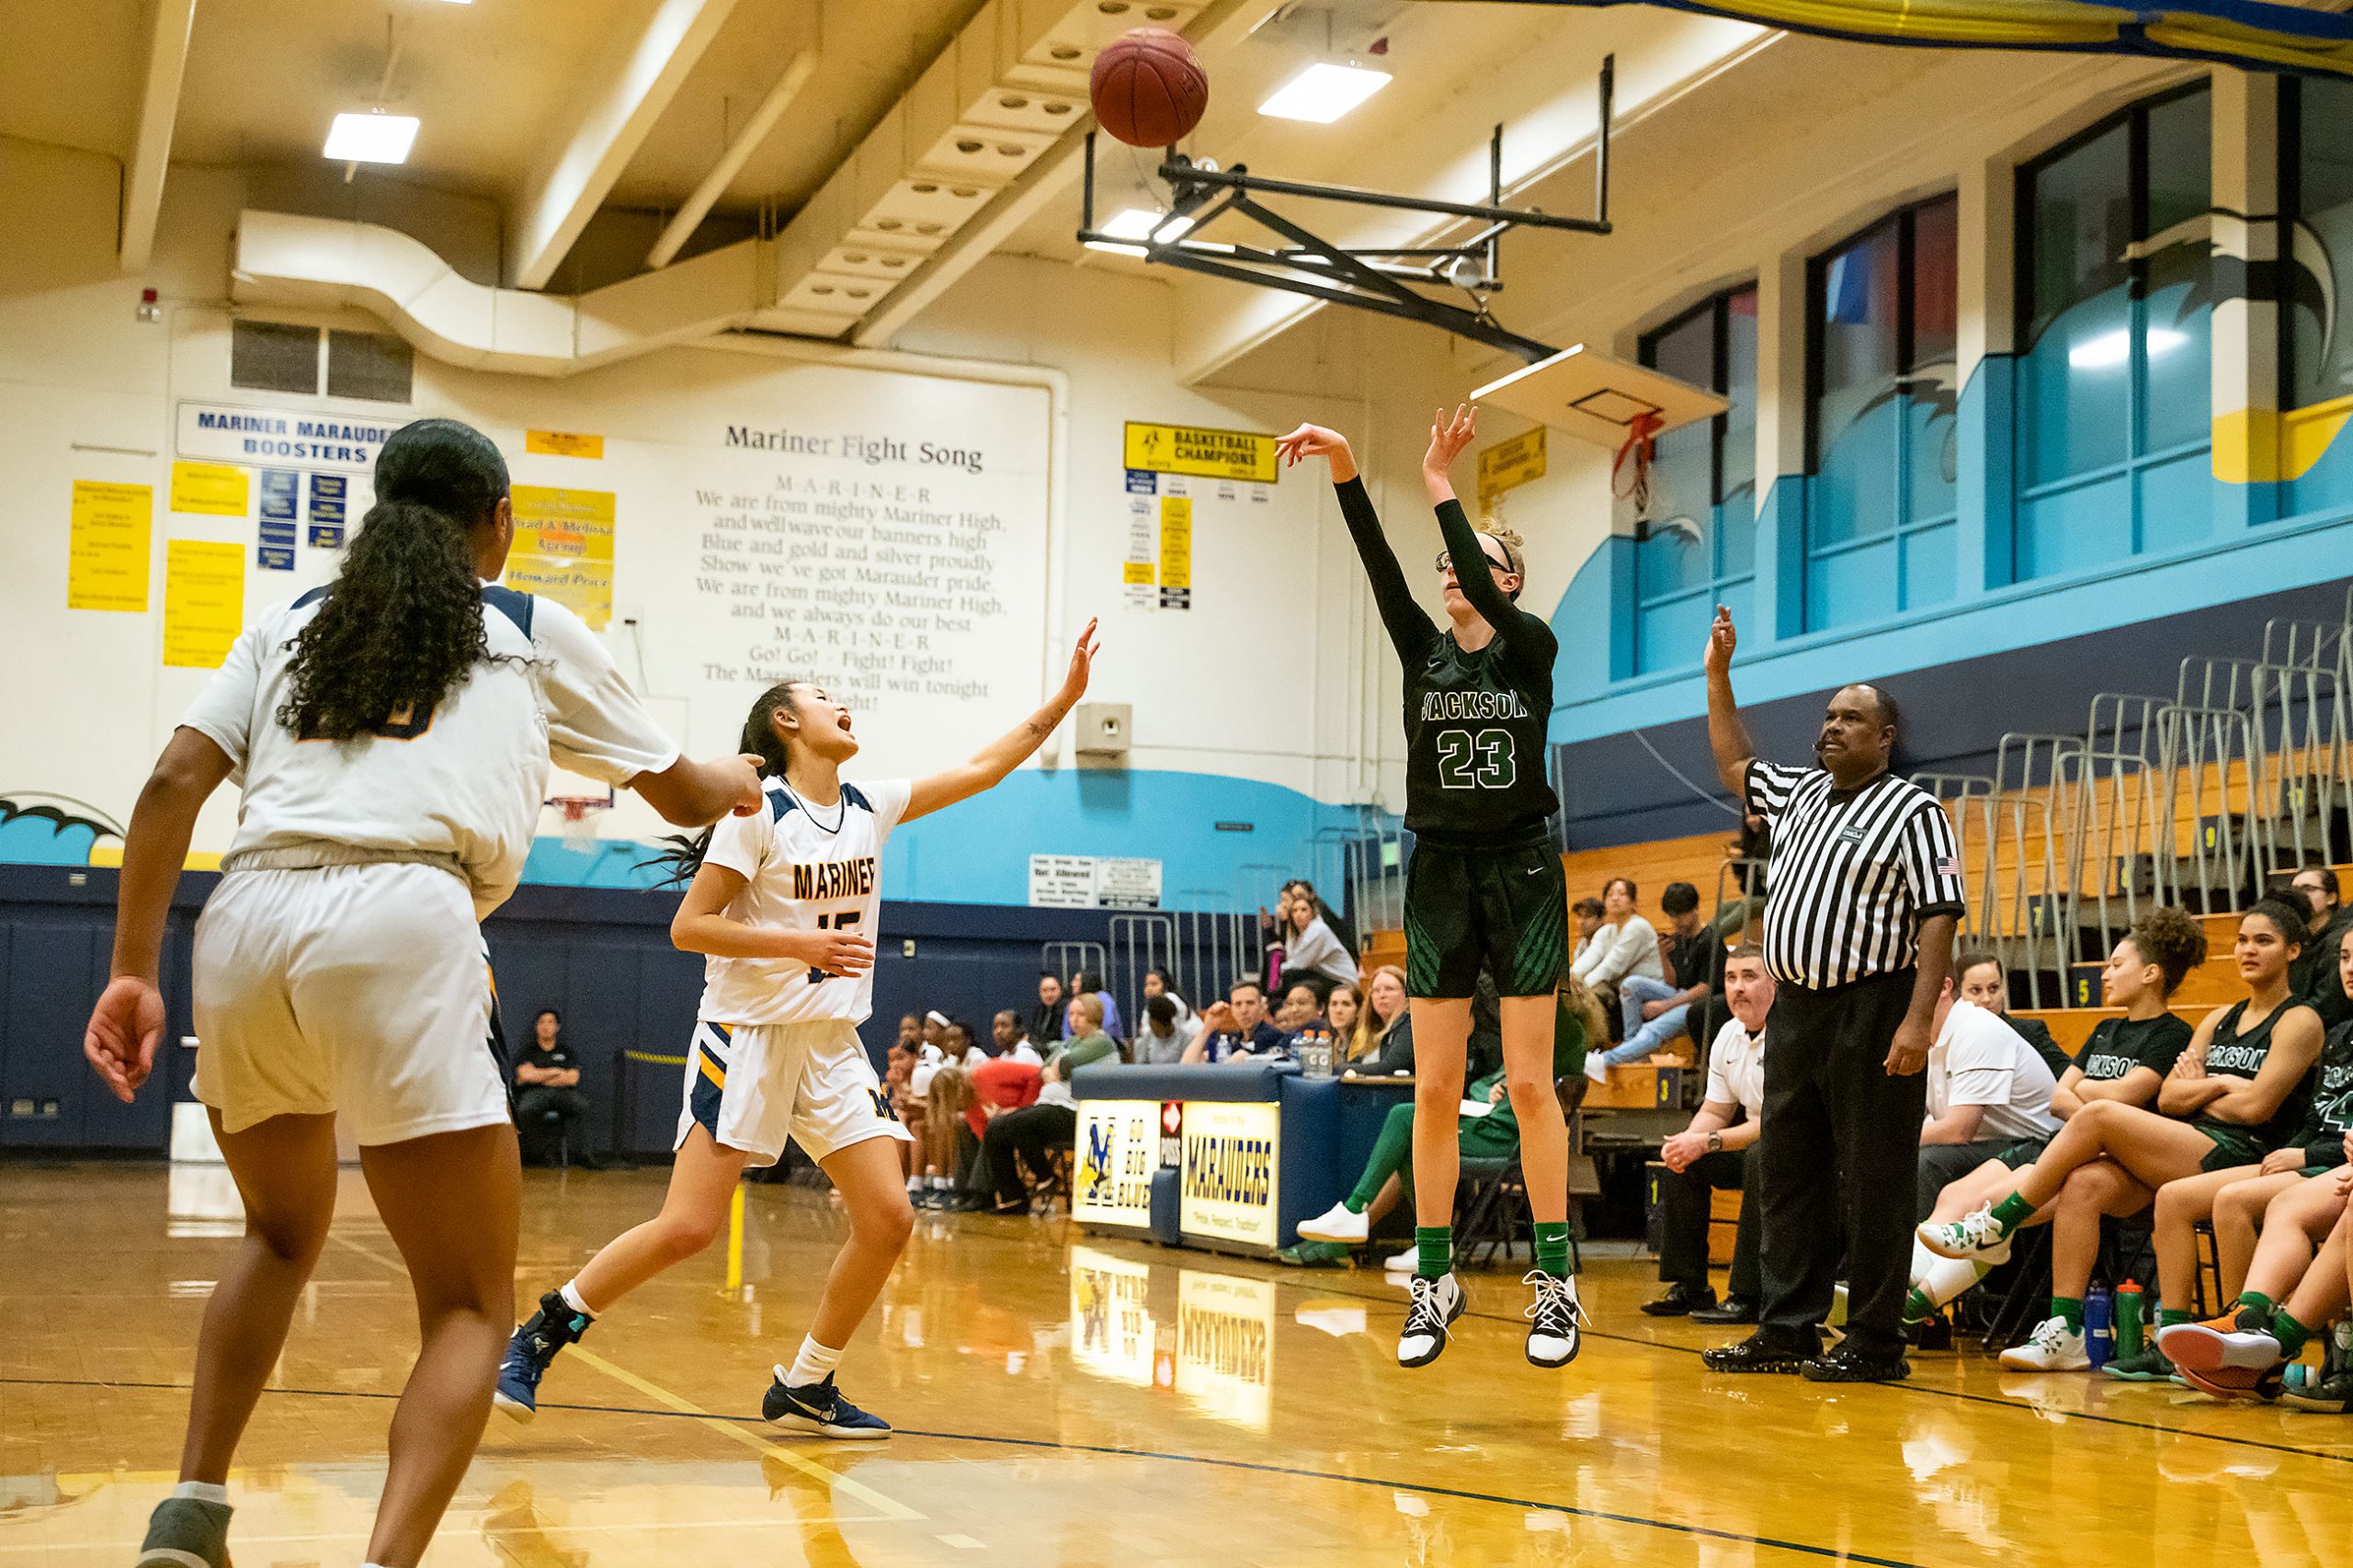
Jackson Timberwolves at Mariner High School: Girls Varsity Basketball Matthew Gore·January 29, 2020Basketball·0 Comments·
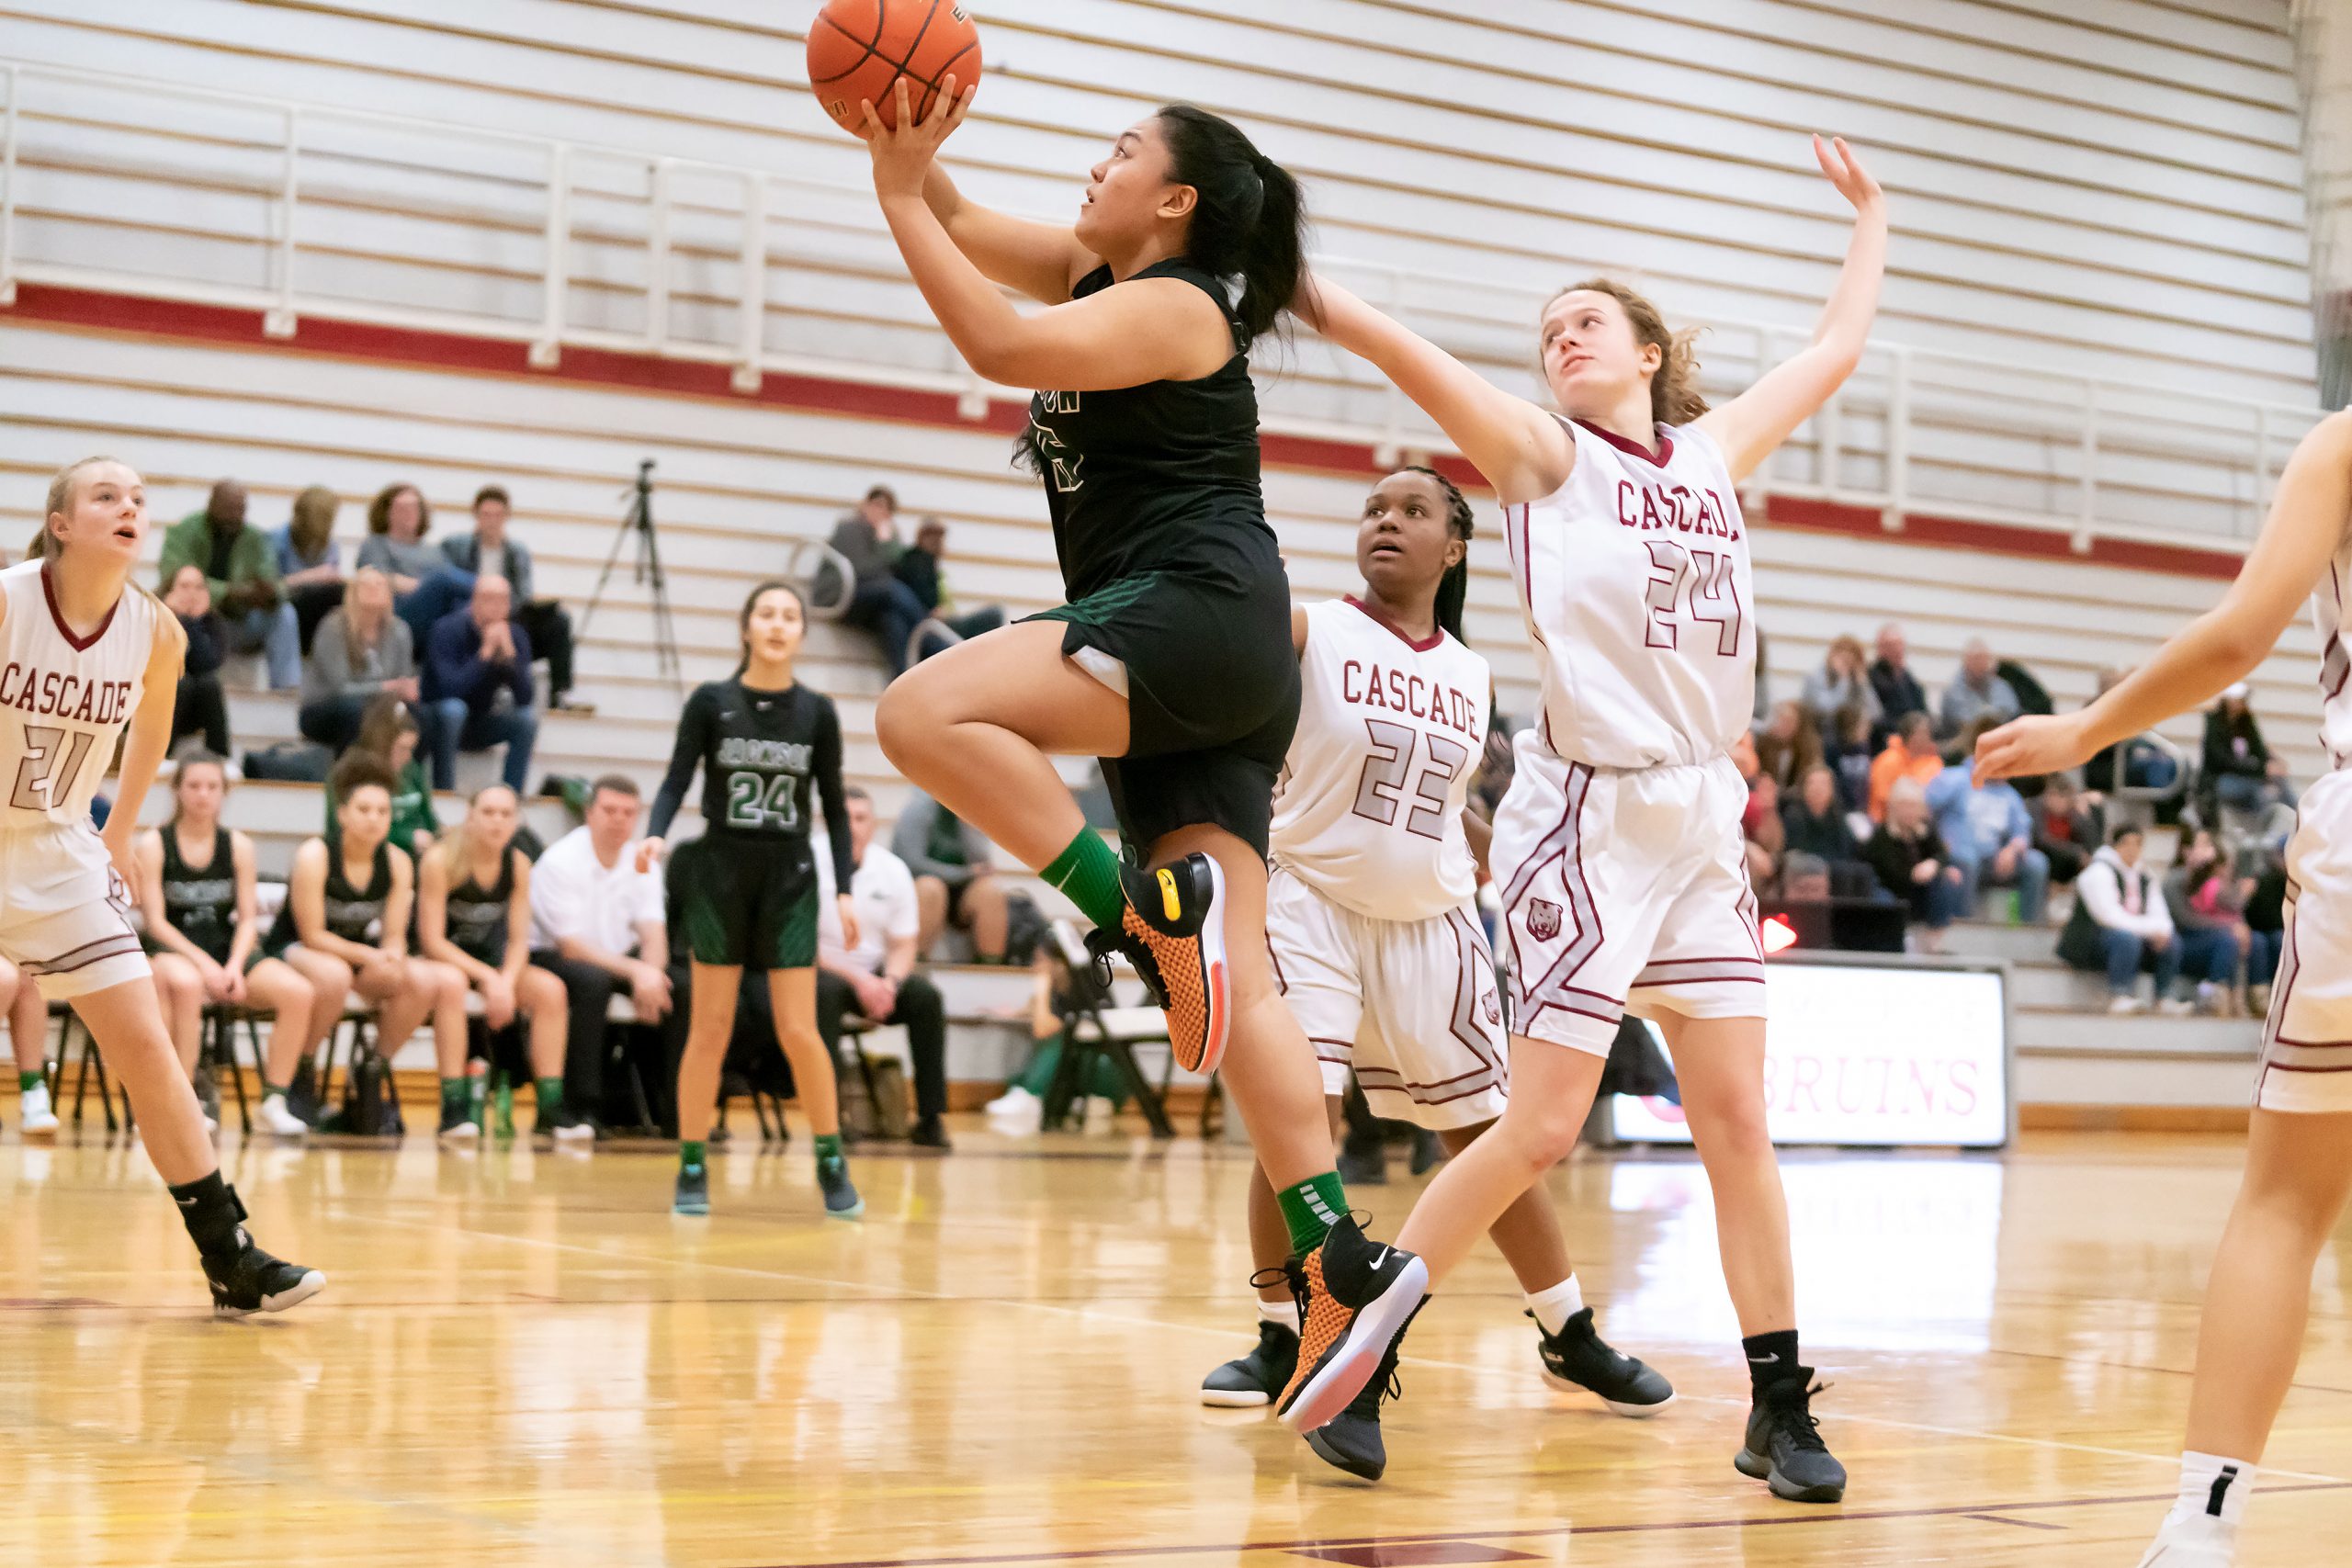
Jackson Timberwolves Varsity Girls at Cascade High School Matthew Gore·January 17, 2020BasketballEVENTS·0 Comments·
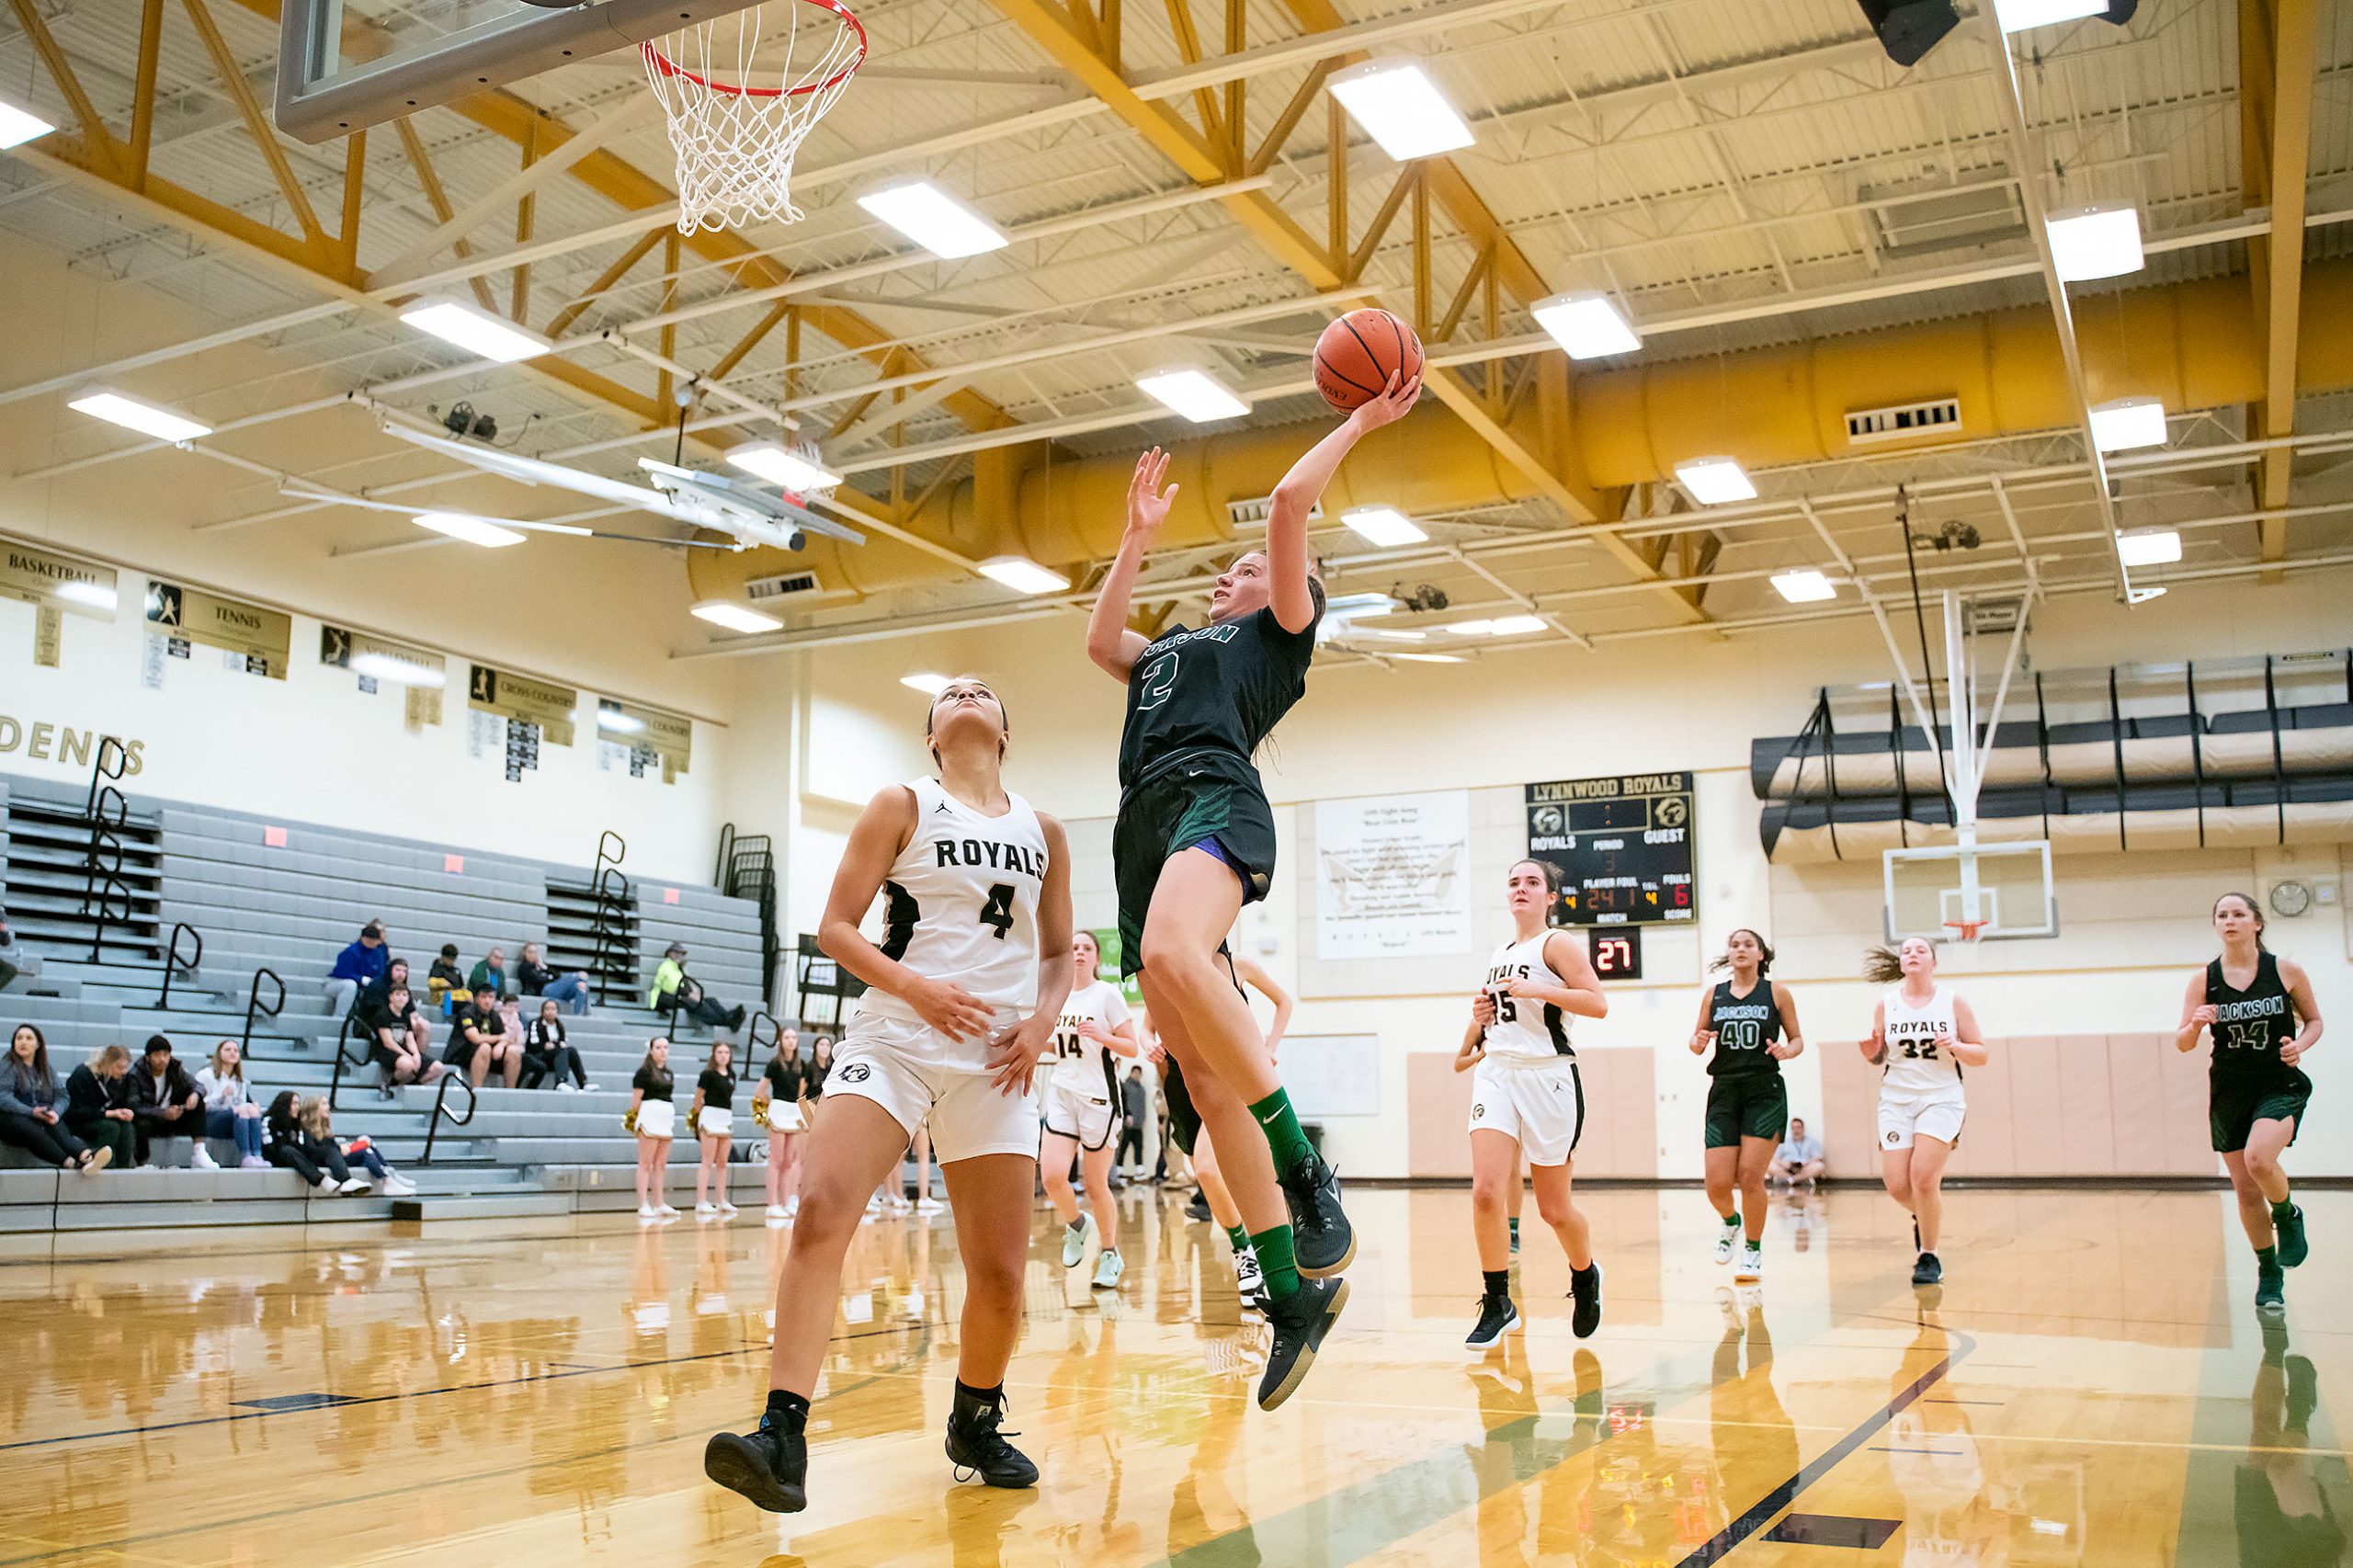
Jackson Timberwolves at Lynnwood High School: Girls Varsity Basketball Matthew Gore·December 11, 2019Lynnwood put the first point on the board against the Jackson Timberwolves on Tuesday evening, with Nakia Boston...BasketballEVENTS·0 Comments·
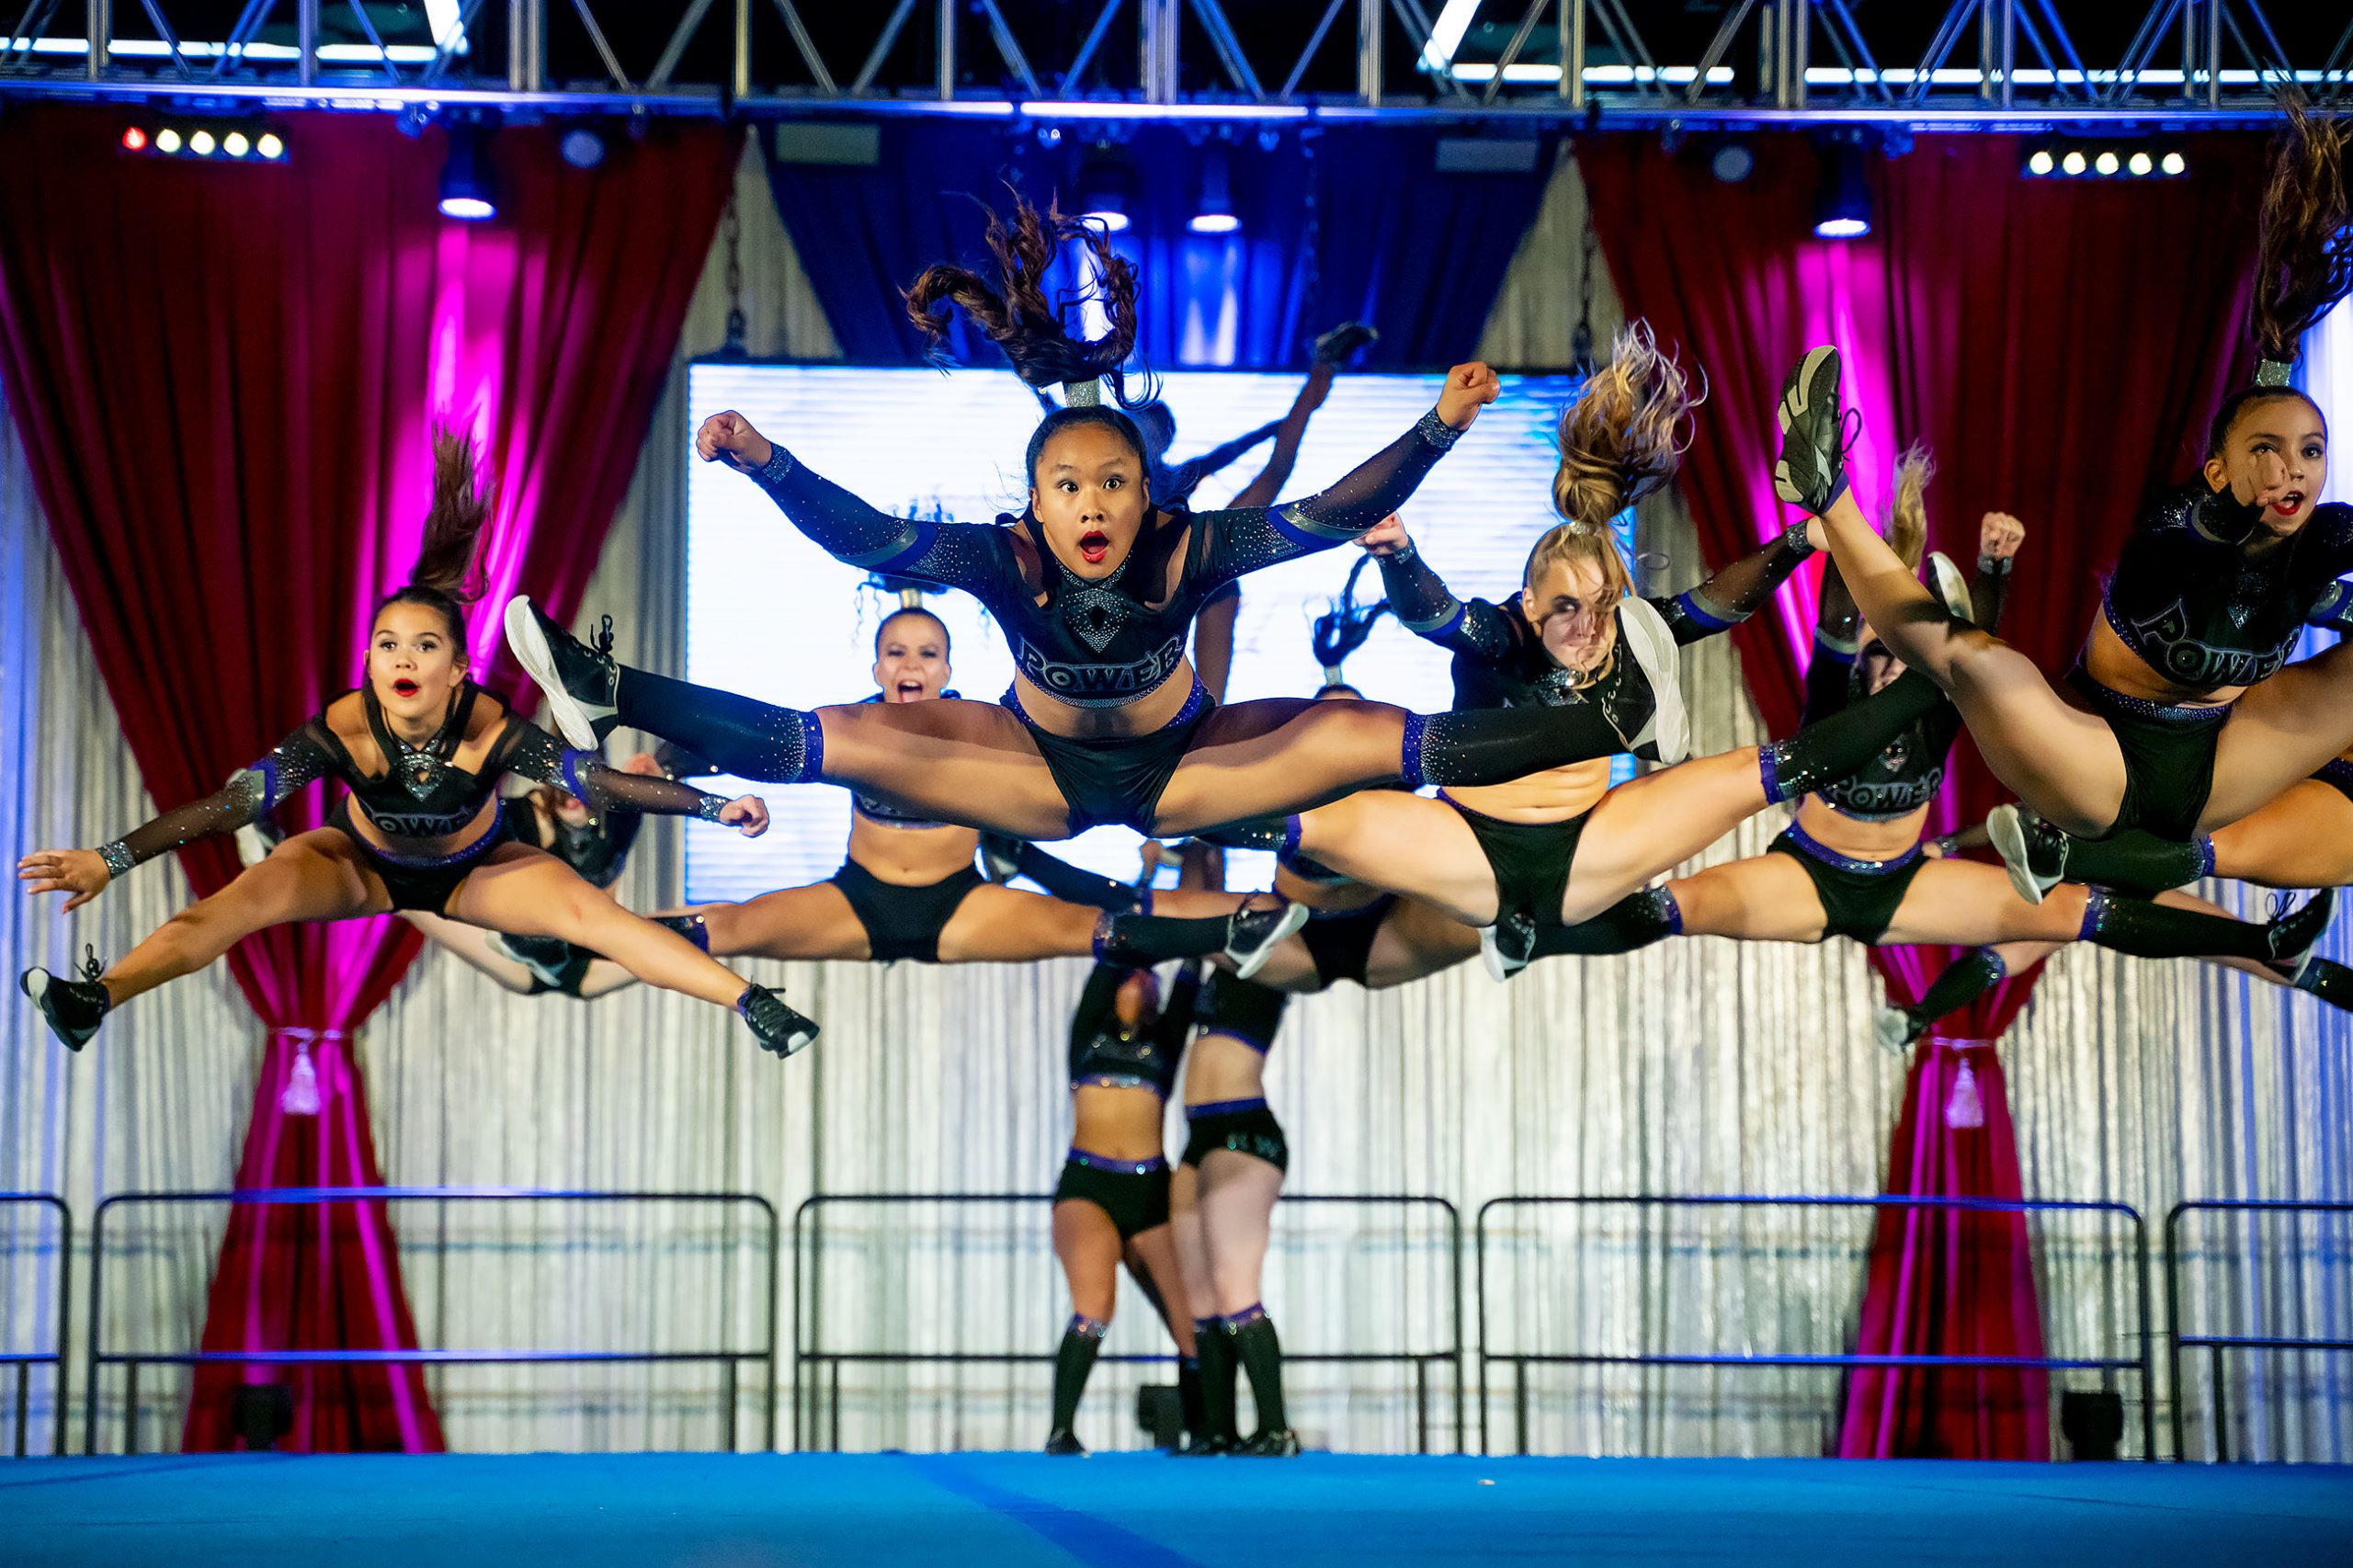
Northwest Power Athletics Cheer at America’s Best National Championship, Portland: Day Two Matthew Gore·December 10, 2019From their Sunday appearances in Portland, these are photos of Northwest Power Athletics Cheer’s “Black Out” J2 performance...cheerEVENTS·2 Comments·
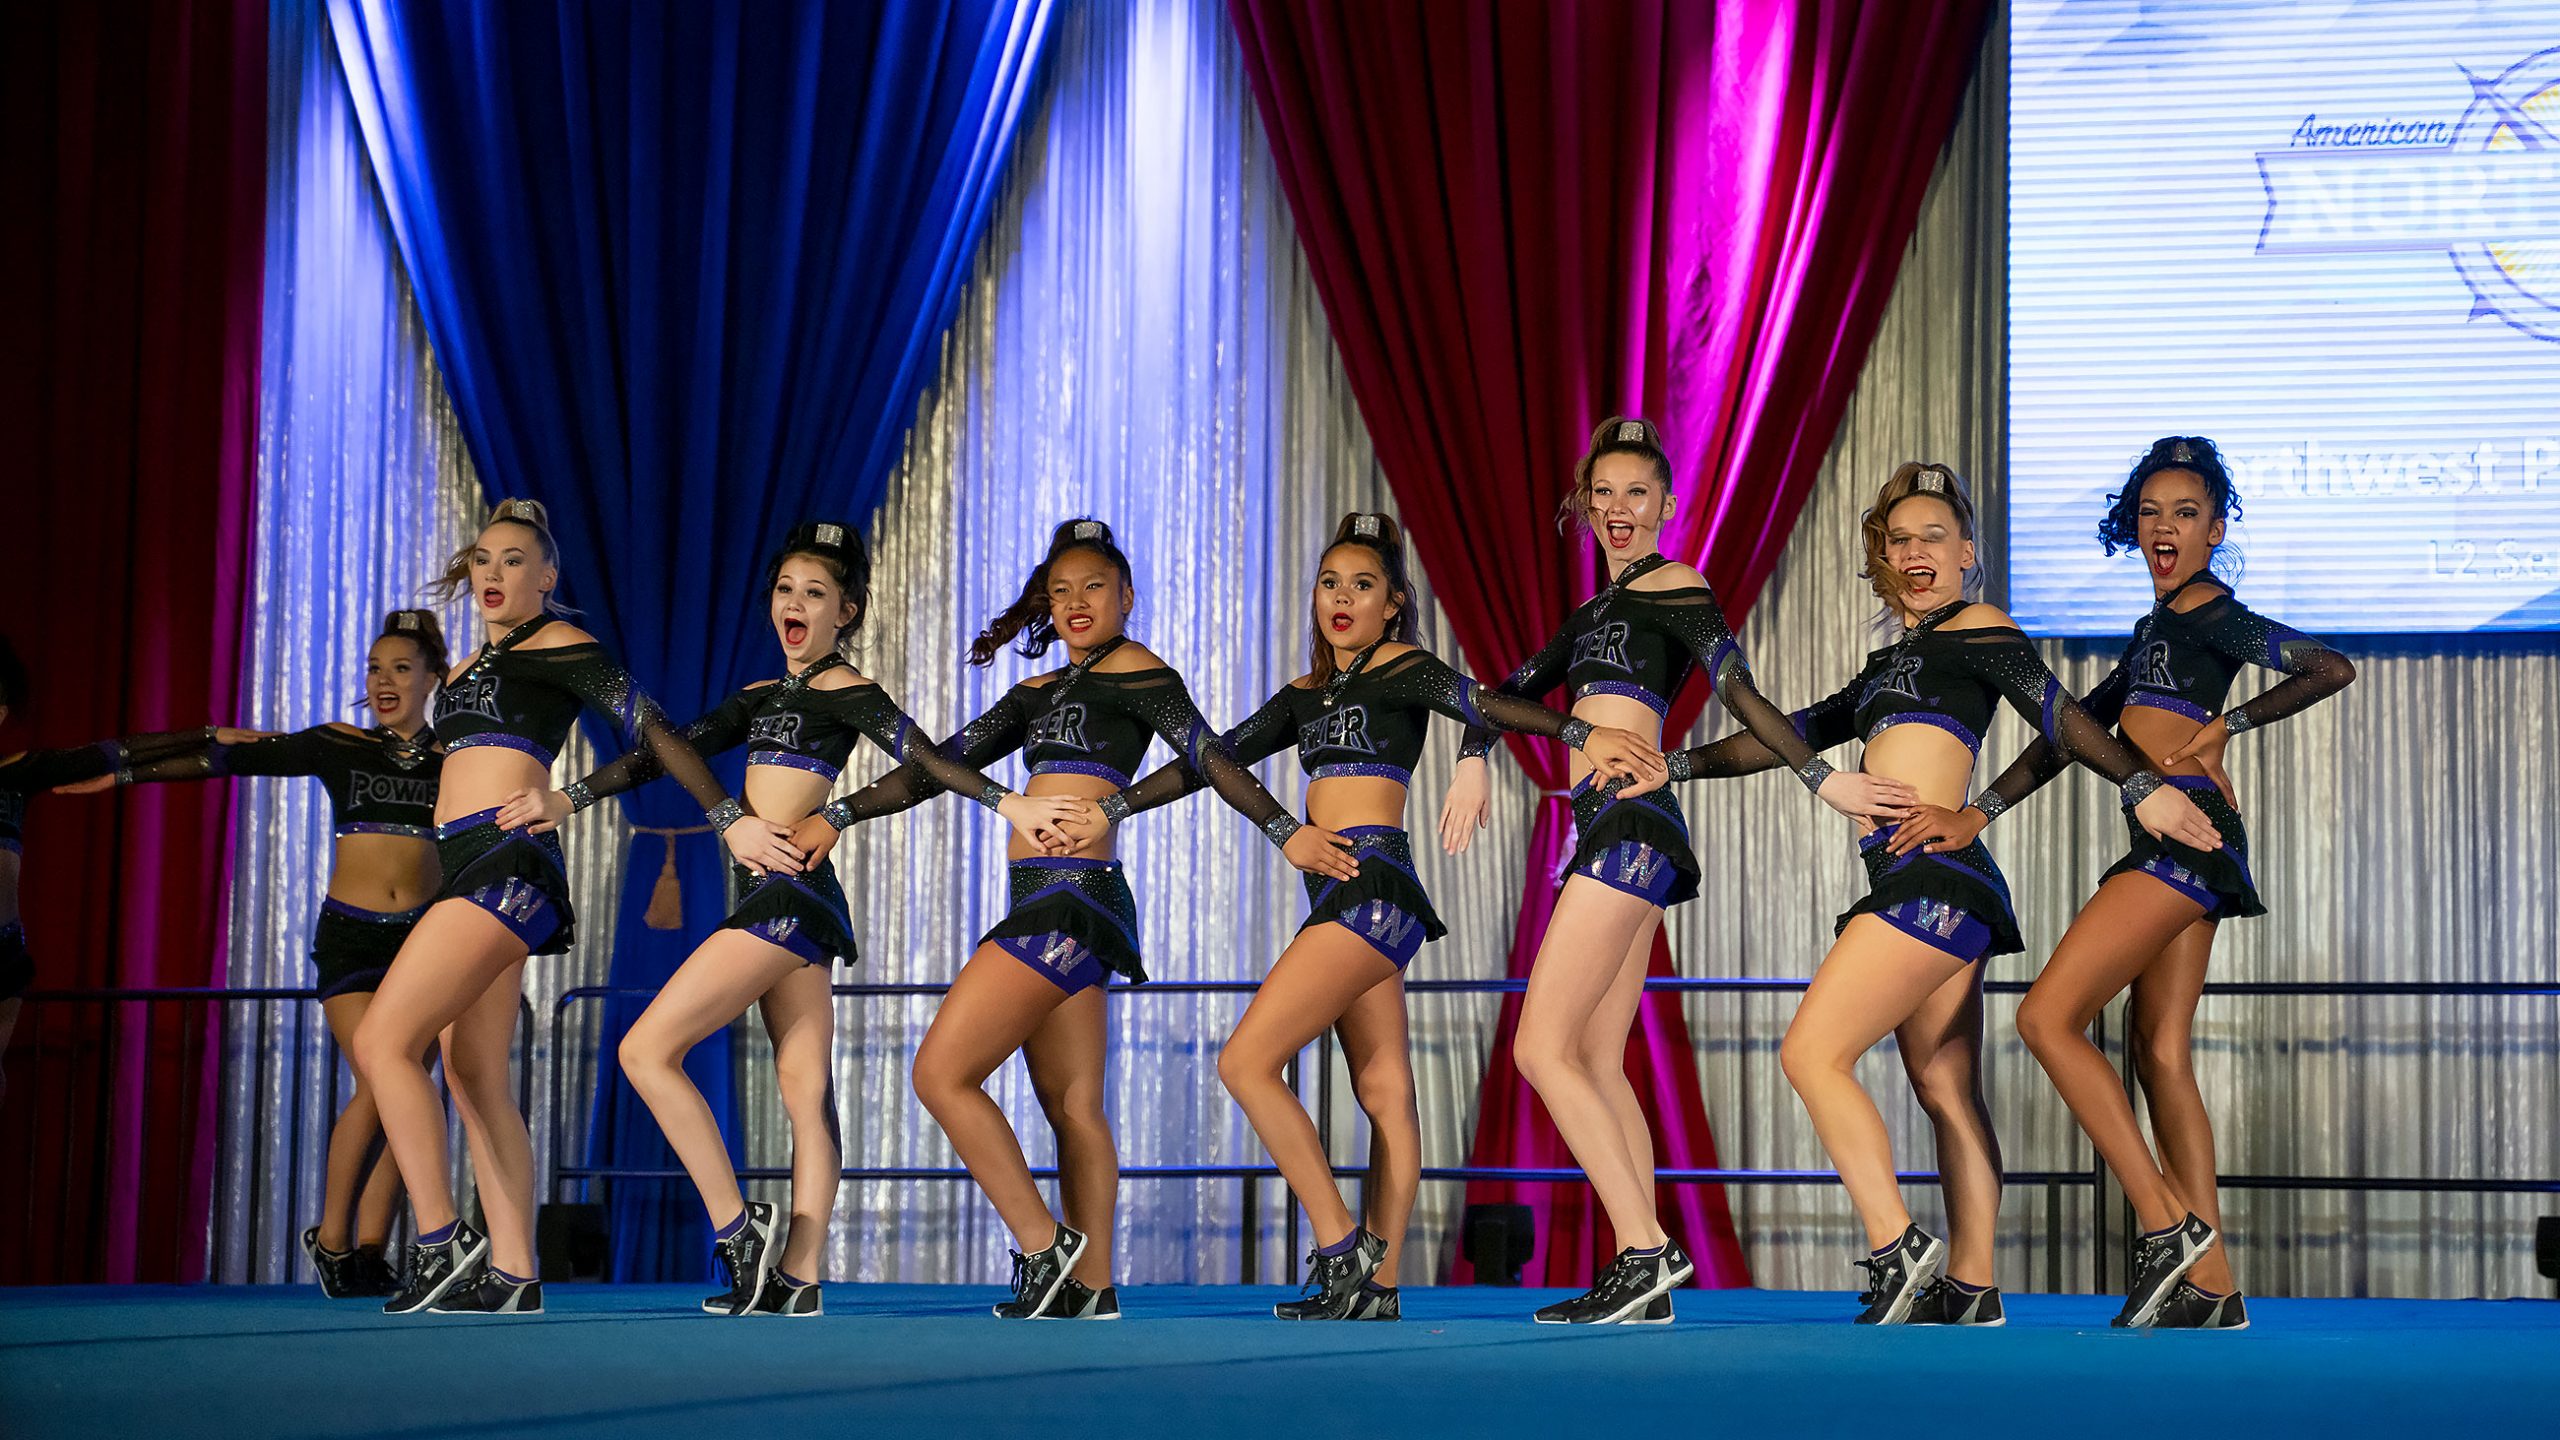
Northwest Power Athletics Cheer at America’s Best National Championship, Portland: Day One Matthew Gore·December 9, 2019This photo gallery encompasses three separate performances by Northwest Power Athletics teams from their Saturday competition in Portland,...cheerEVENTS·0 Comments·
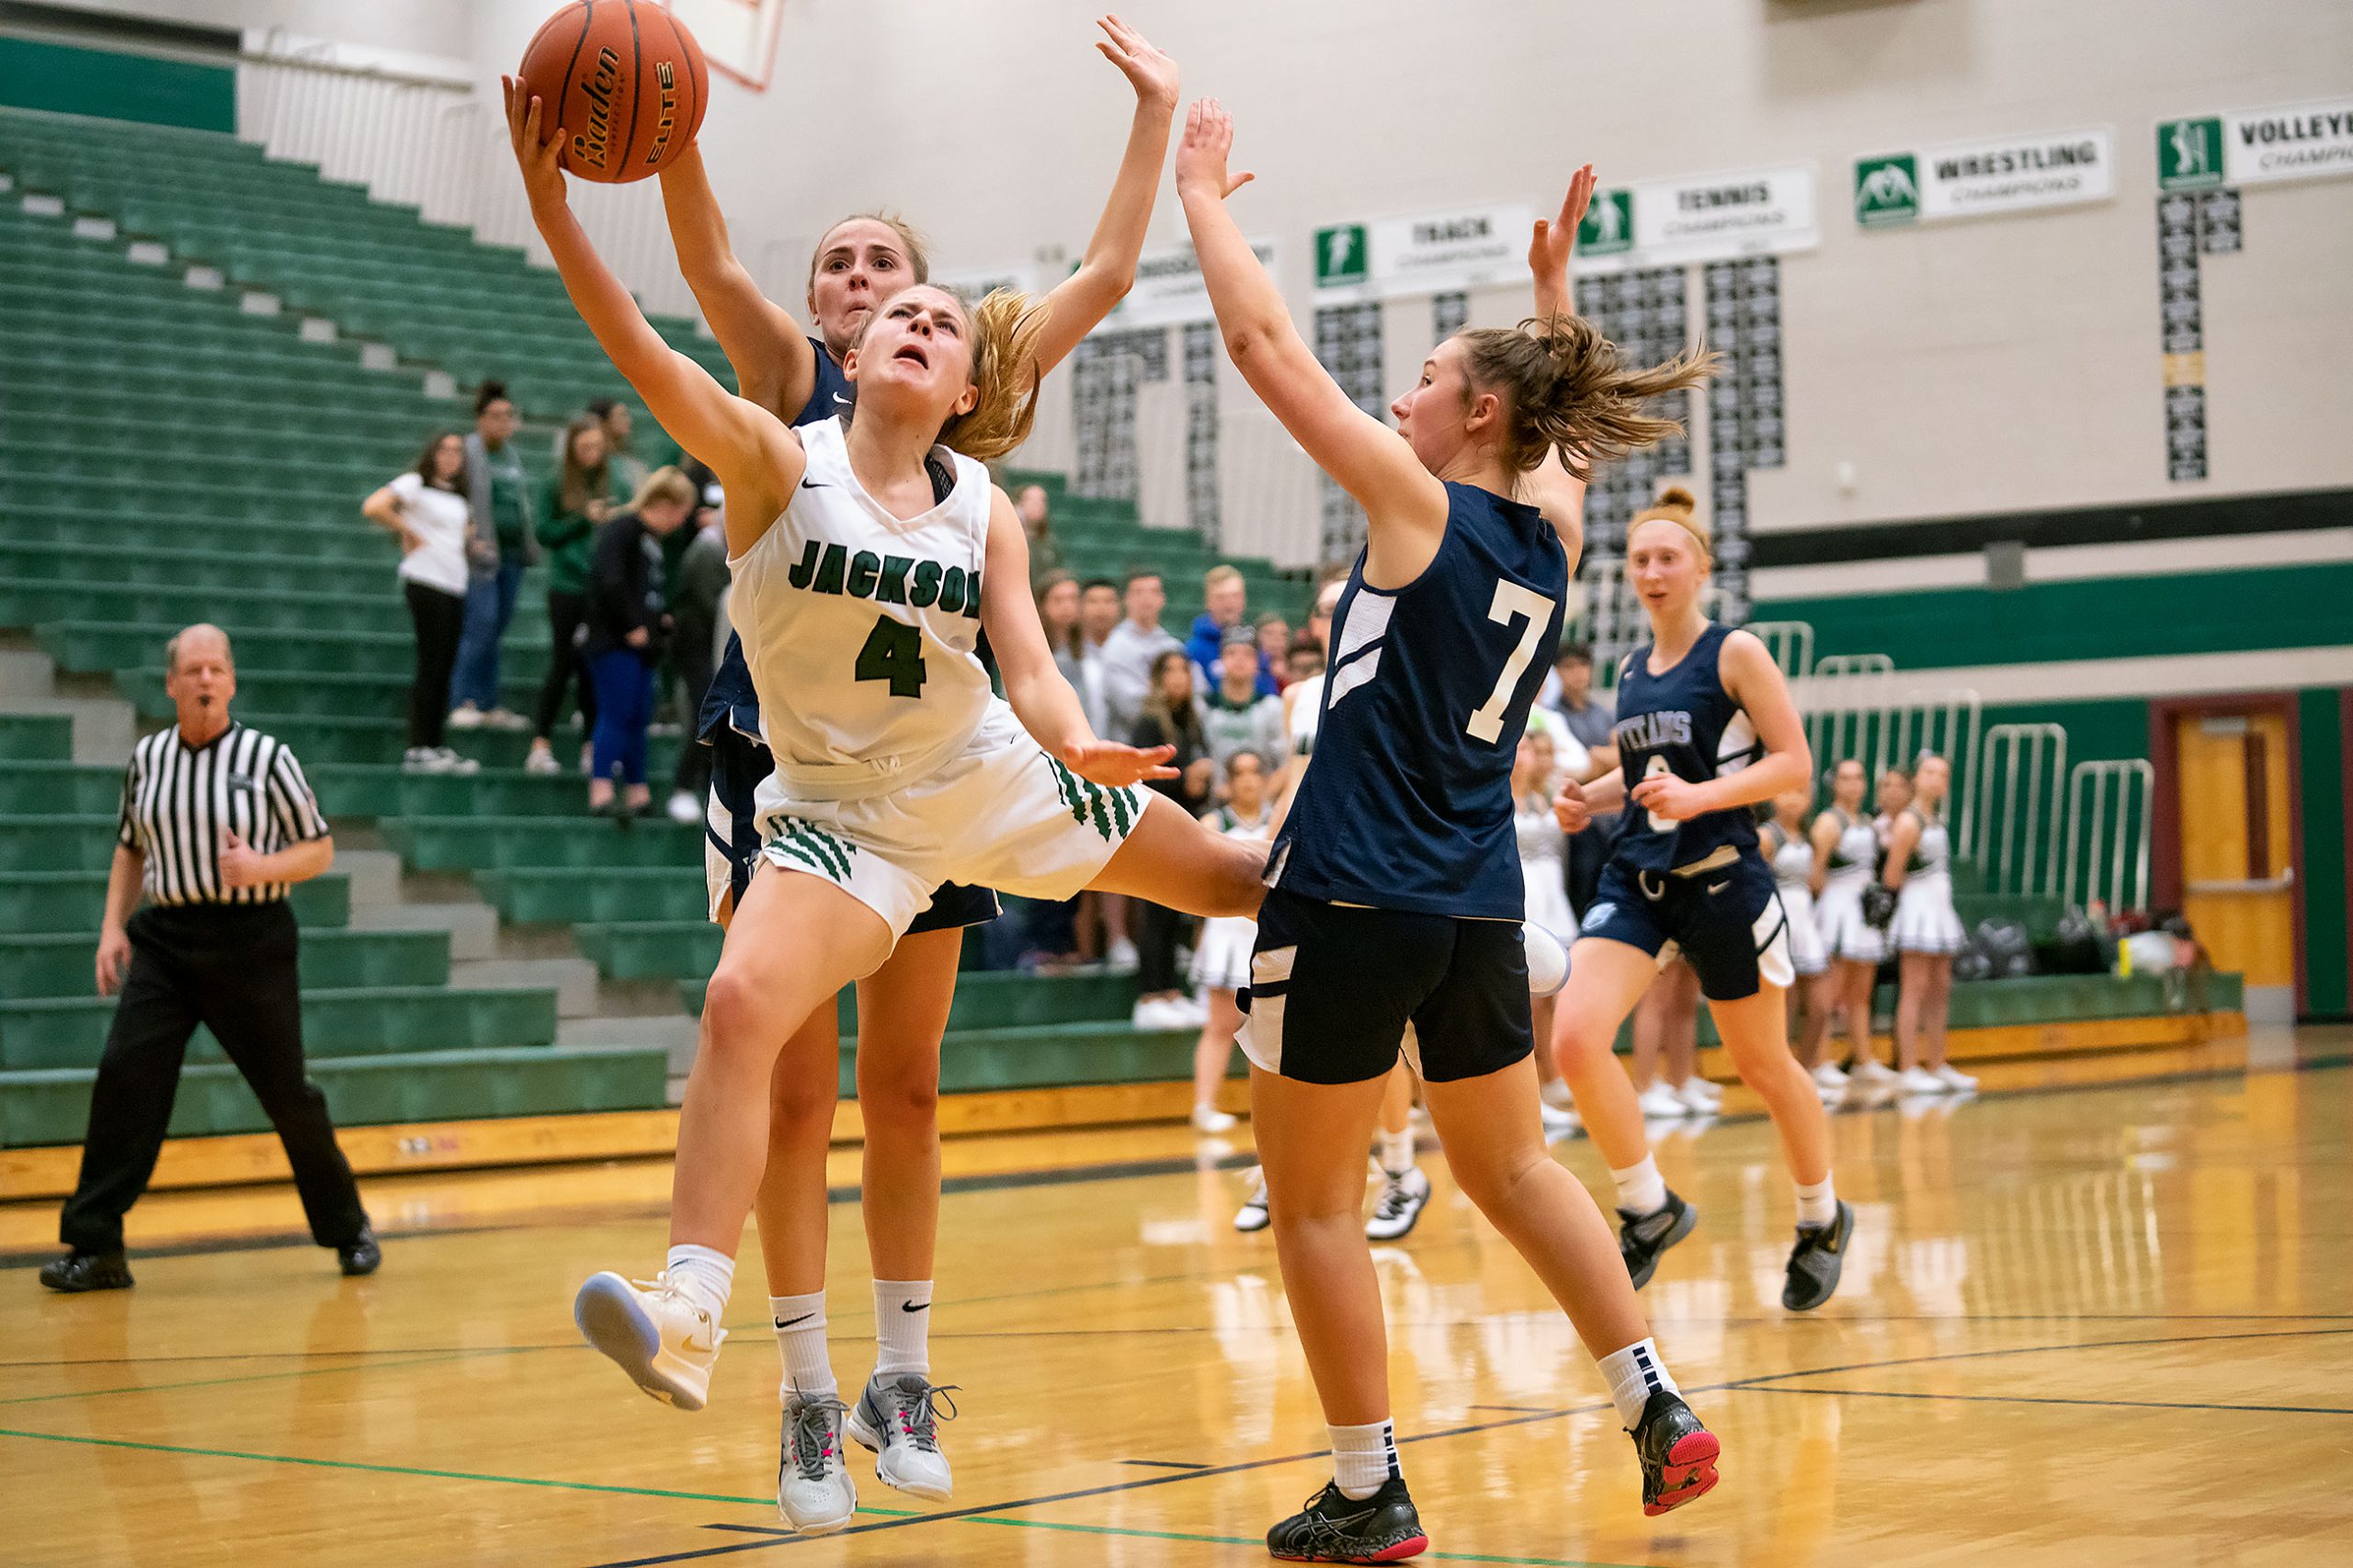
Tenison Woods, Australia vs Jackson High School Varsity Girls Basketball Matthew Gore·December 6, 2019On Thursday evening, the visiting Titans from Tenison Woods College, a high school in Mount Gambier, South Australia,...BasketballEVENTS·0 Comments·
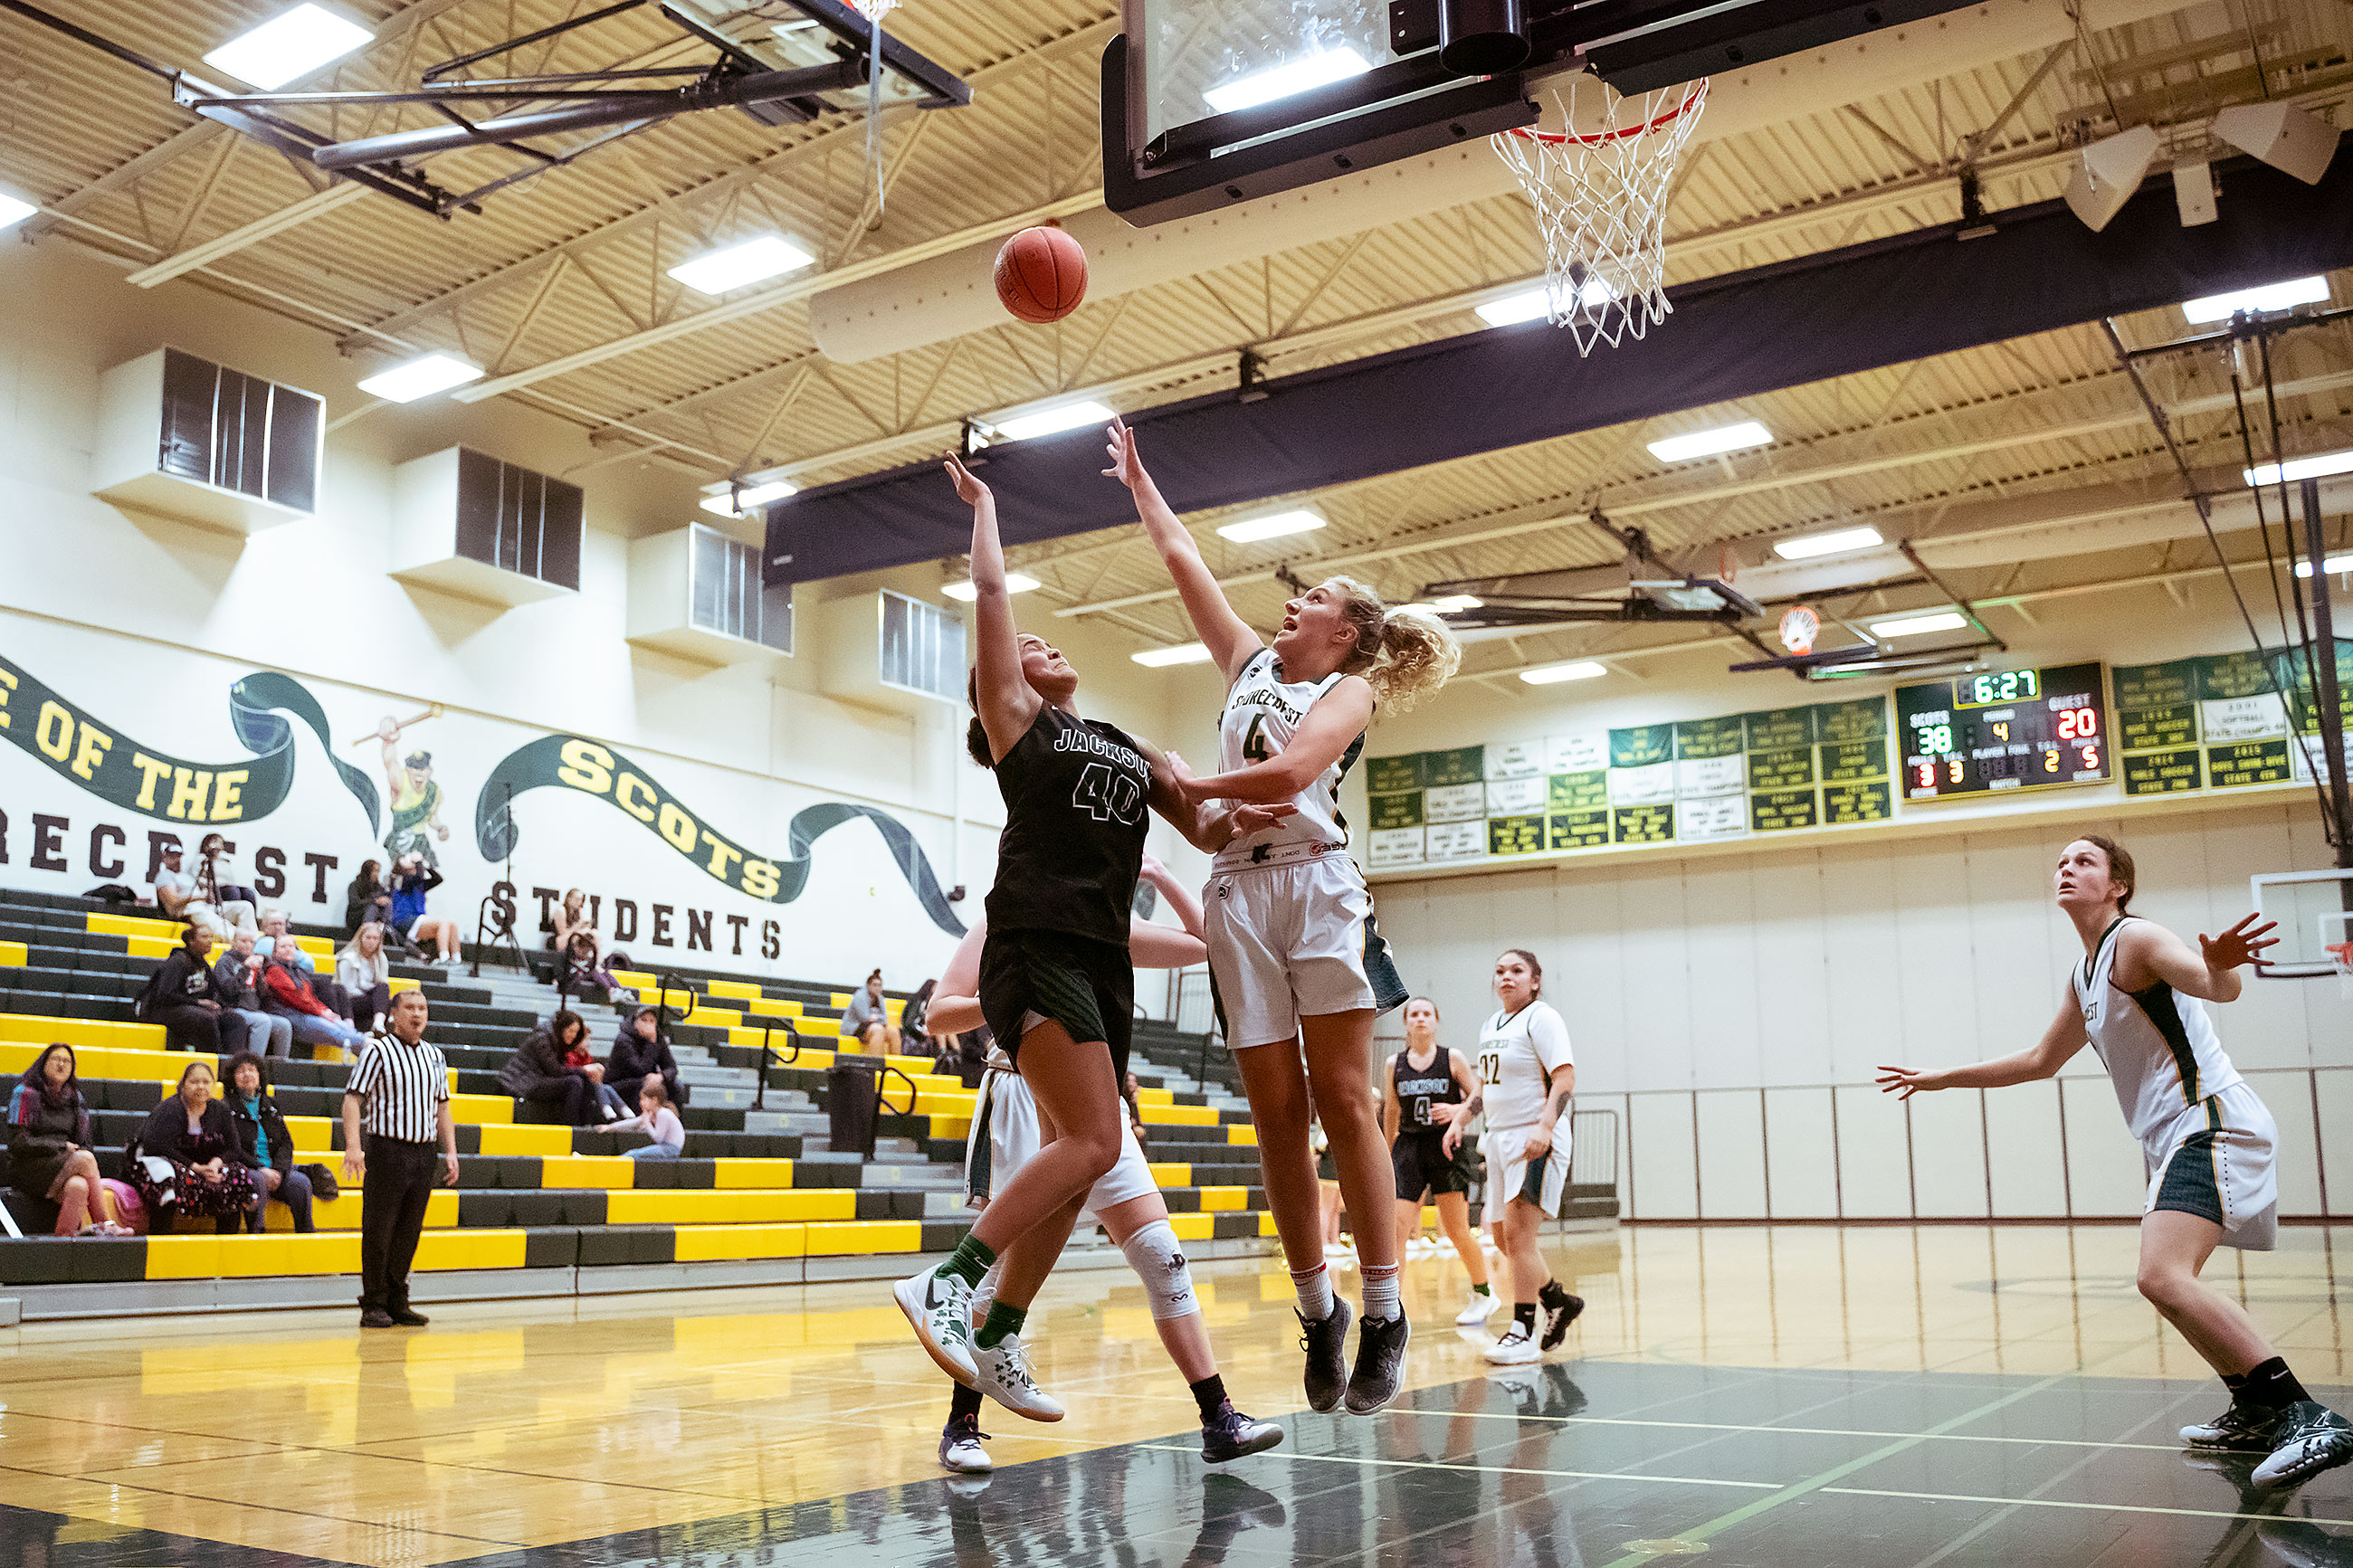
Girls Varsity Basketball: Jackson at Shorecrest High School Matthew Gore·December 5, 2019In their first game of the season on Tuesday, Jackson went on the road to take on the...BasketballEVENTS·0 Comments·
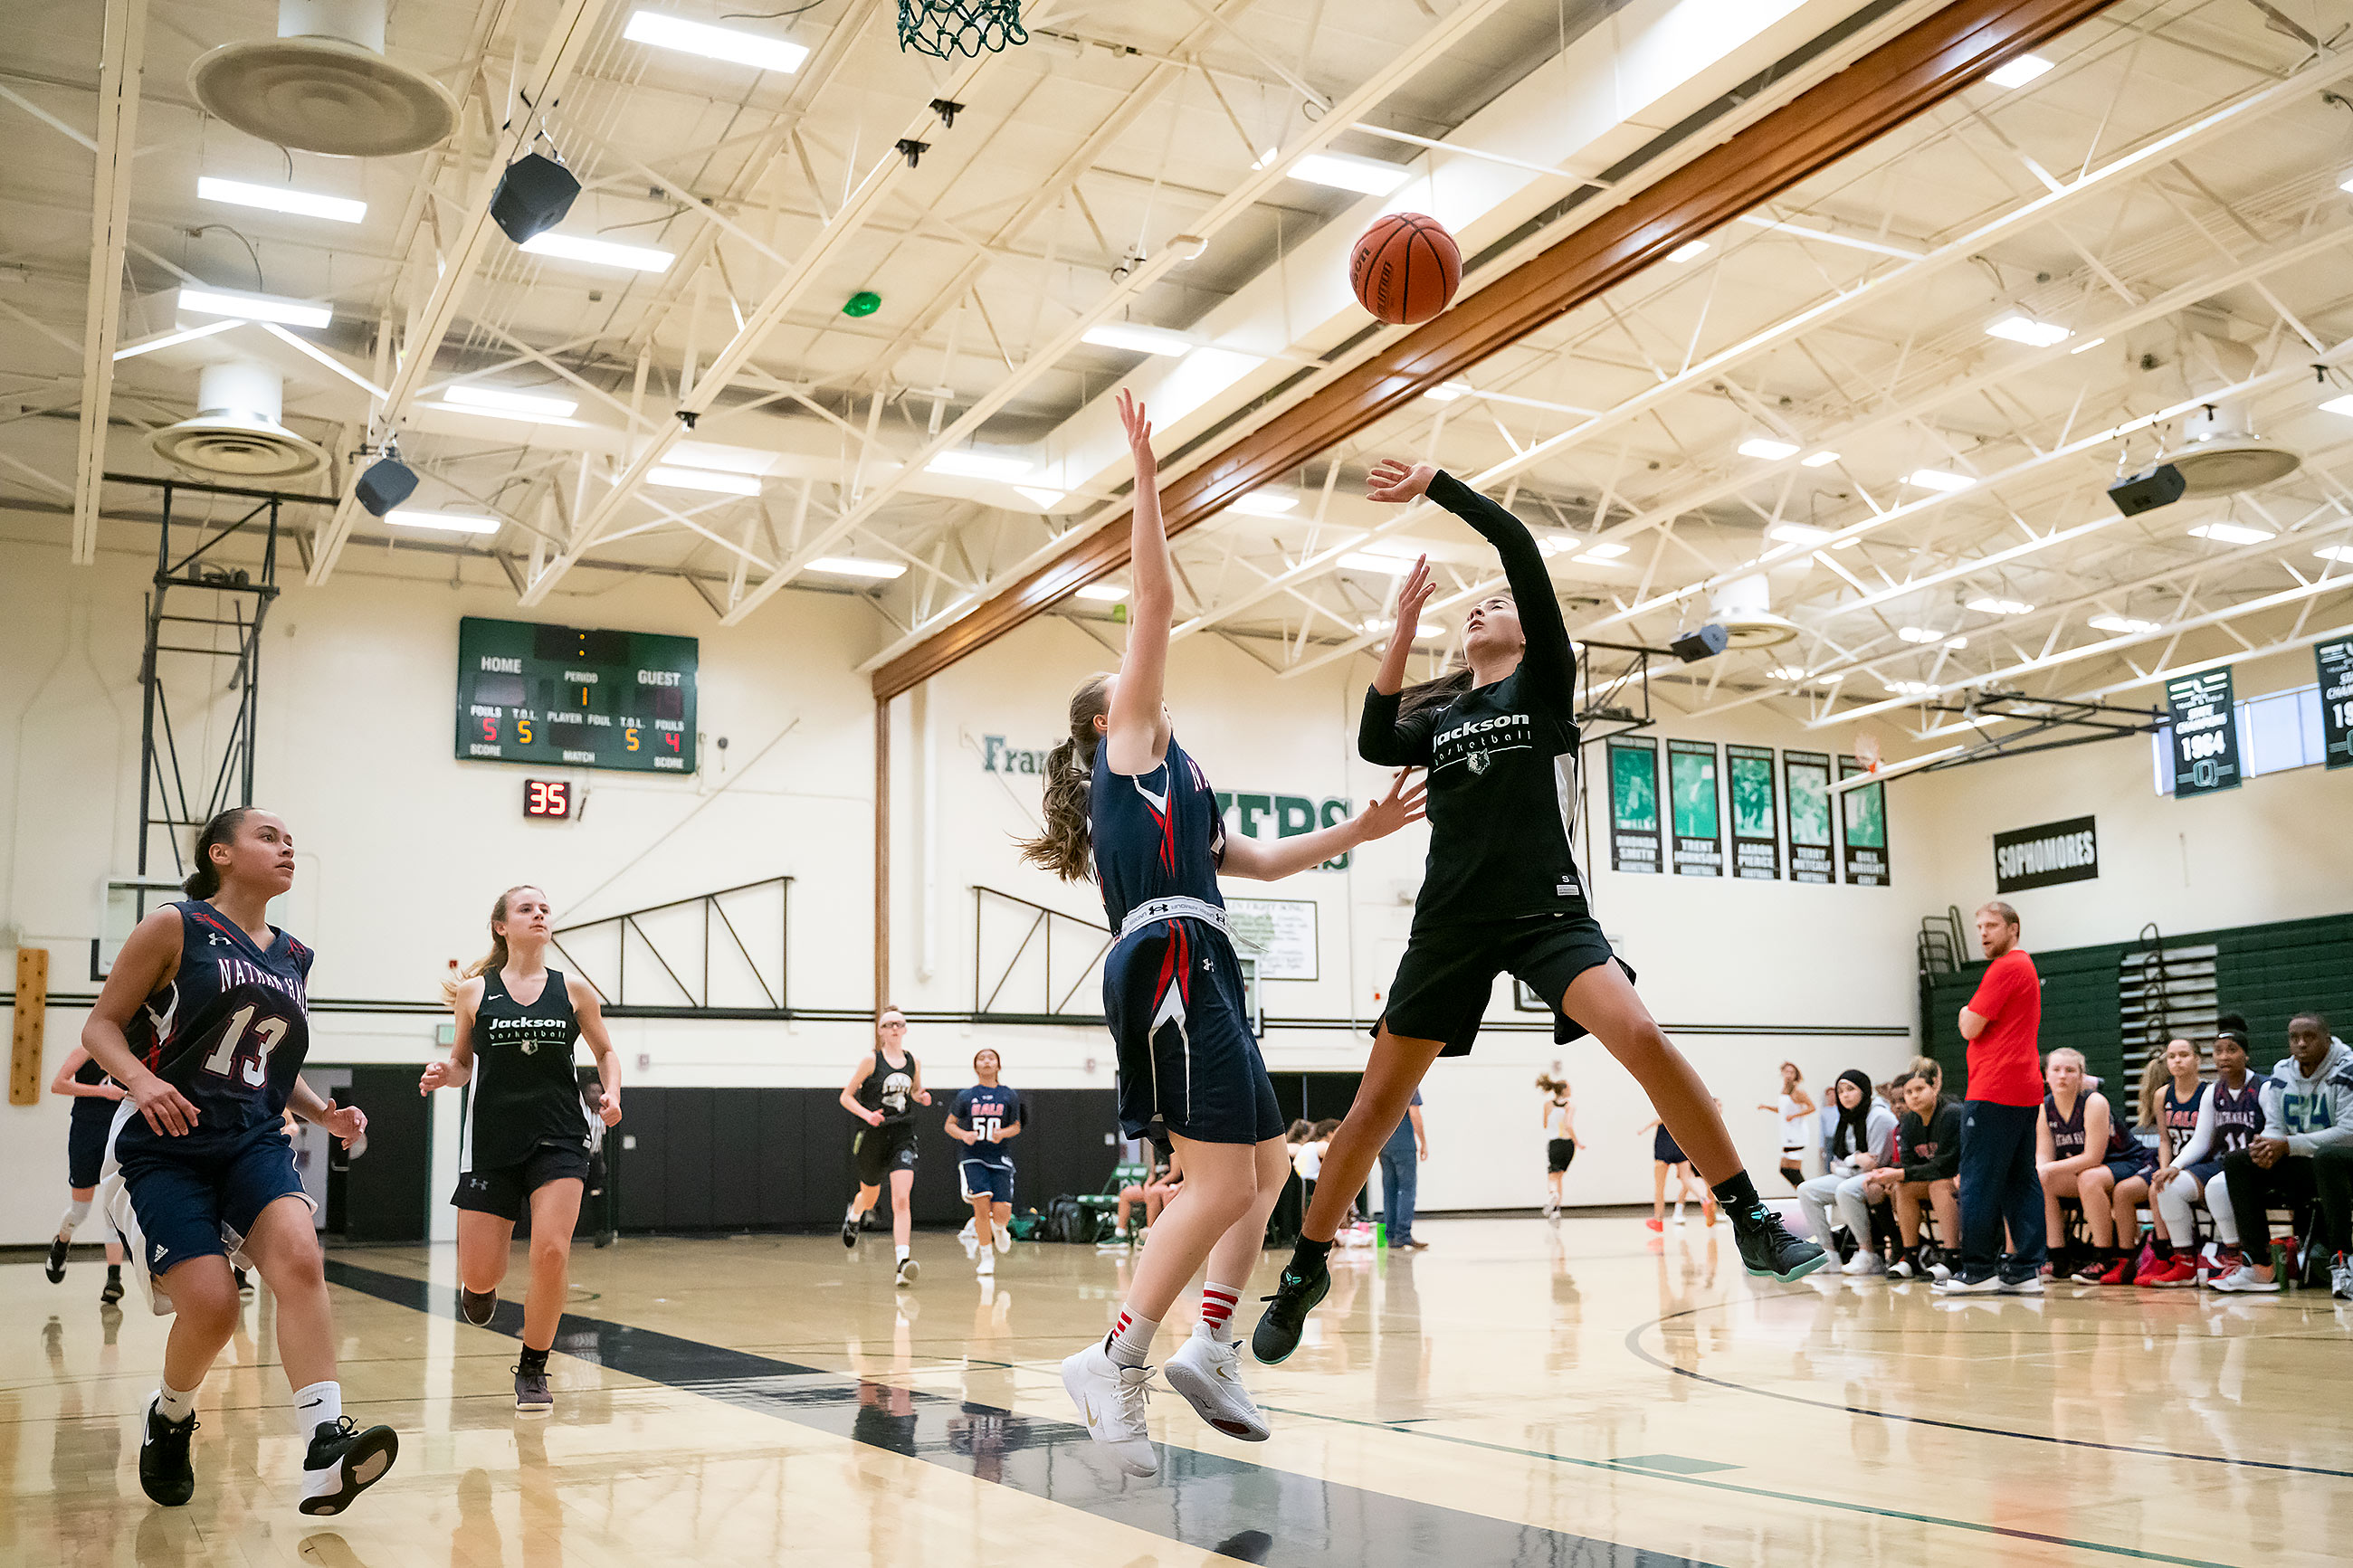
Nathan Hale vs Jackson Girls Basketball Matthew Gore·November 5, 2019This Sunday morning game at Franklin High School got off to a lopsided start, with Jackson scoring nearly...Basketball·0 Comments·